After having setup Travis-CI and CircleCI builds for my sample Android app, today I thought to install Jenkins on Ubuntu (giving more control on signing, authority, Dex, etc.) , though it is pretty much straightforward, however I wanted to post my learningas well in form of a tutorial.
Step 1 - Preparing your Ubuntu
First Step of all the installations on Ubuntu is toupdated it to latest system packages by running below commands
$ sudo apt update
$ sudo apt upgrade
$ sudo apt dist-upgrade
Below steps are only needed if your Ubuntu is behind a corporate proxy, you may need to set apt to use proxy by creating a 95proxies file like below
$ sudo vi /etc/apt/apt.conf.d/95proxies
Content would be like below
Acquire::http:Proxy "http://x.y.z.a:9090<"
Acquire::https:Proxy "http://x.y.z.a:9090"
Acquire::ftp:Proxy "http://x.y.z.a:9090"
Step 2 - Install Jenkins Next we need to get the Remote keys from Jenkins Distro server and add locally into Apt Cert store,add Jenkins Repo to sources.list.d and then install jenkins.
wget -q -O - https://pkg.jenkins.io/debian/jenkins-ci.org.key | sudo apt-key add -
sudo sh -c 'echo deb http://pkg.jenkins.io/debian-stable binary/ > /etc/apt/sources.list.d/jenkins.list'
sudo apt-get update
sudo apt-get install jenkins
Once you have finished jenkins install you need to start jenkins process by issuing below
$ sudo service jenkins start
Jenkins process should display the port it is using when you use the command "sudo lsof -i | grep jenkins" .Why we using 'sudo' is because jenkins is running under its own user id process and no other user would usually have access to those processes.
$ sudo lsof -i | grep jenkins
java 27888 jenkins 158u IPv6 62767 0t0 TCP \*:http-alt (LISTEN)
java 27888 jenkins 176u IPv6 62954 0t0 TCP \*:44305 (LISTEN)
java 27888 jenkins 178u IPv6 62994 0t0 UDP \*:33848
java 27888 jenkins 179u IPv6 63010 0t0 UDP \*:mdns
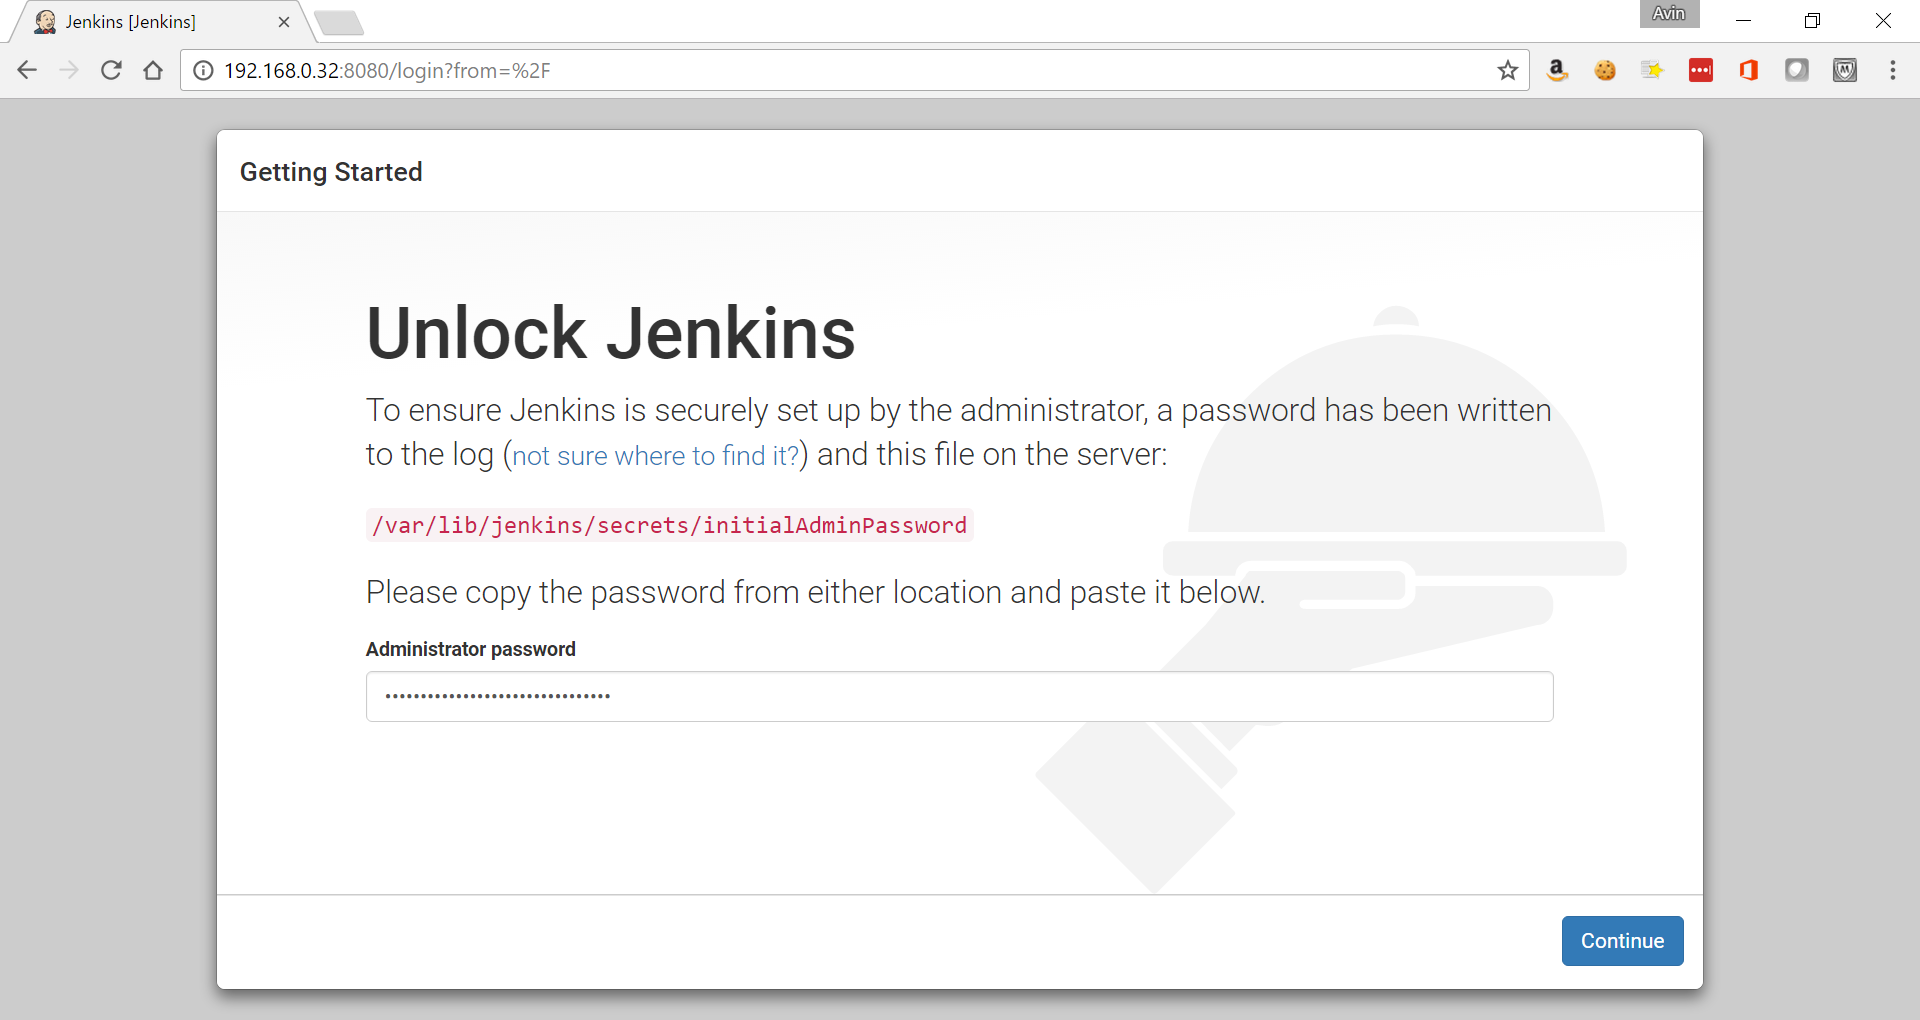
Step 3 - Initial Setup with onetime Secret
Open URL - http://192.168.0.32:8080 and it should display a prompt asking for a secret which is stored by Jenkins process . This is to make sure nobody else can go and create Admin user and control the Jenkins installation. So go and check content of this initialAdminPassword file and paste it in the Web form. PS : Usually Jenkins listens at port 8080 which can be changed by modifying /etc/init.d/jenkins file for `HTTP_PORT`.
Once you have entered the secret initialAdminPassword, the Jenkins would ask you to do Plugin installation manually or recommended way . Choose Recommended way for now. You can install further plugins on the Admin page.
Once Jenkins finishes installing the recommended plugins, it would prompt for a new Admin user to be created like below .
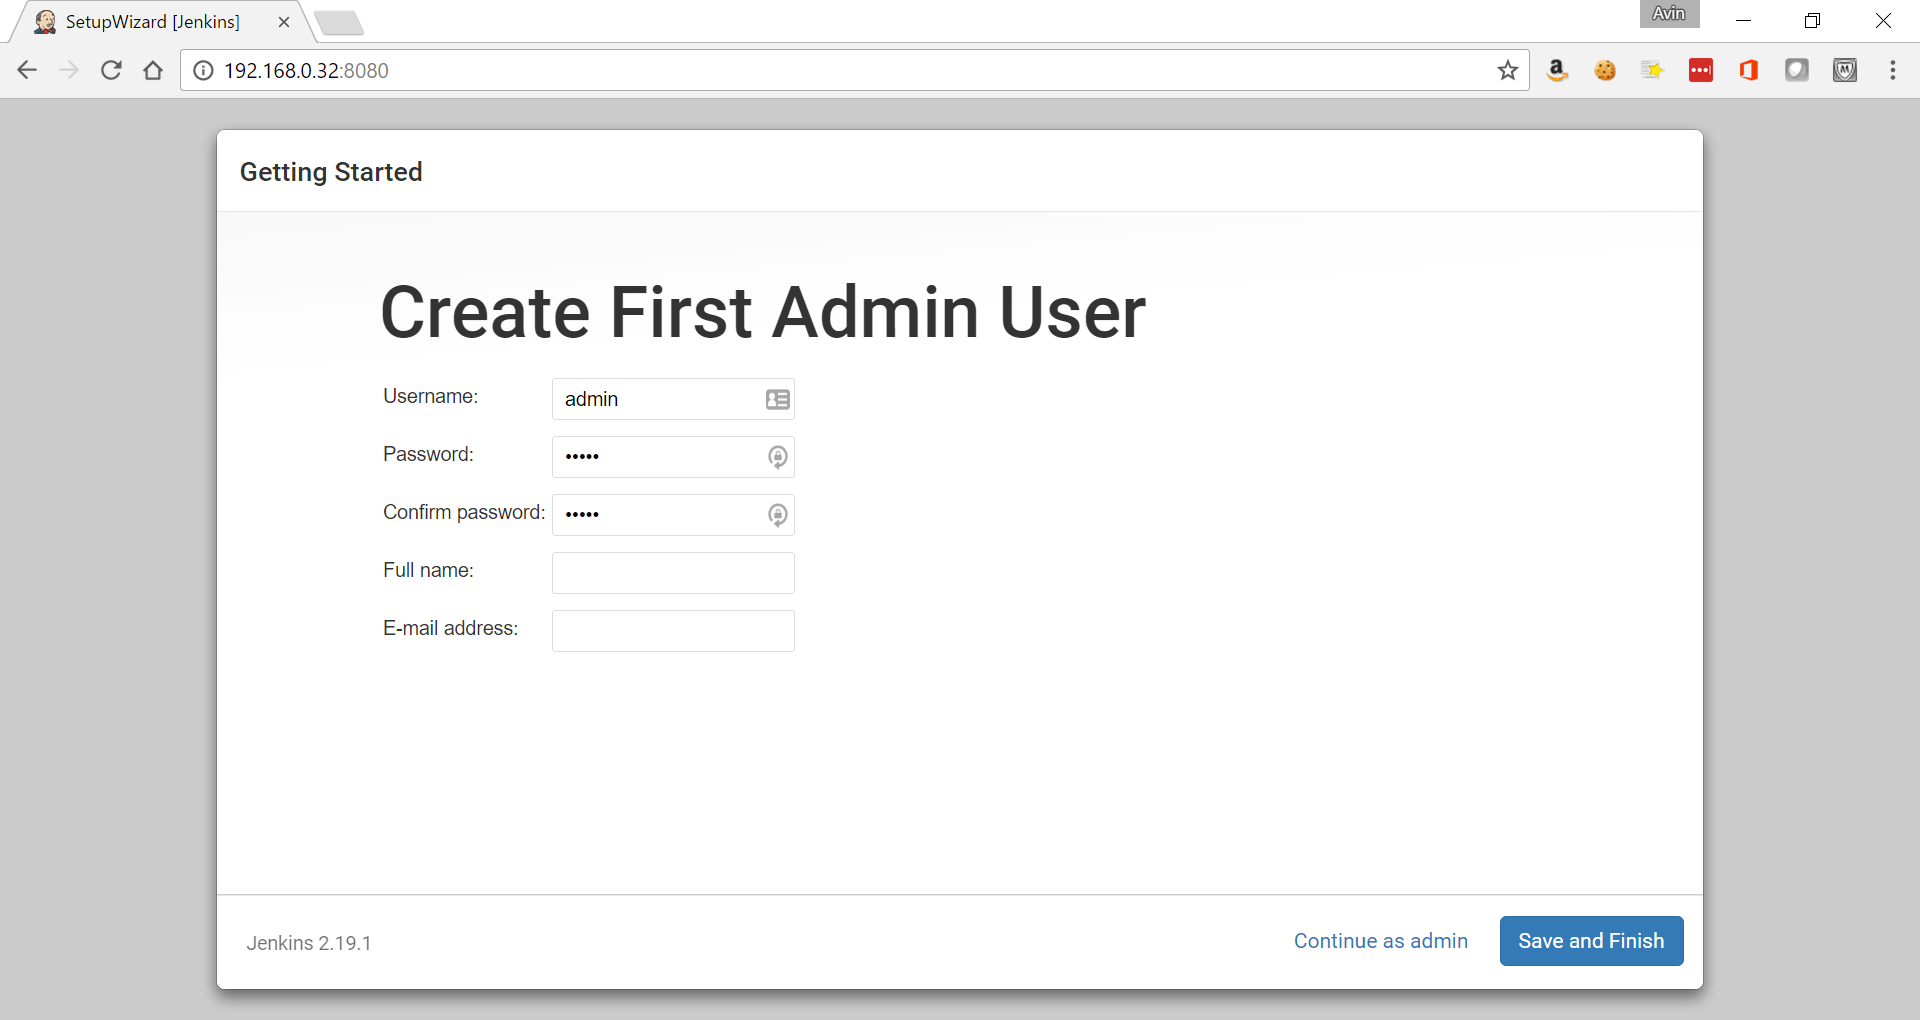
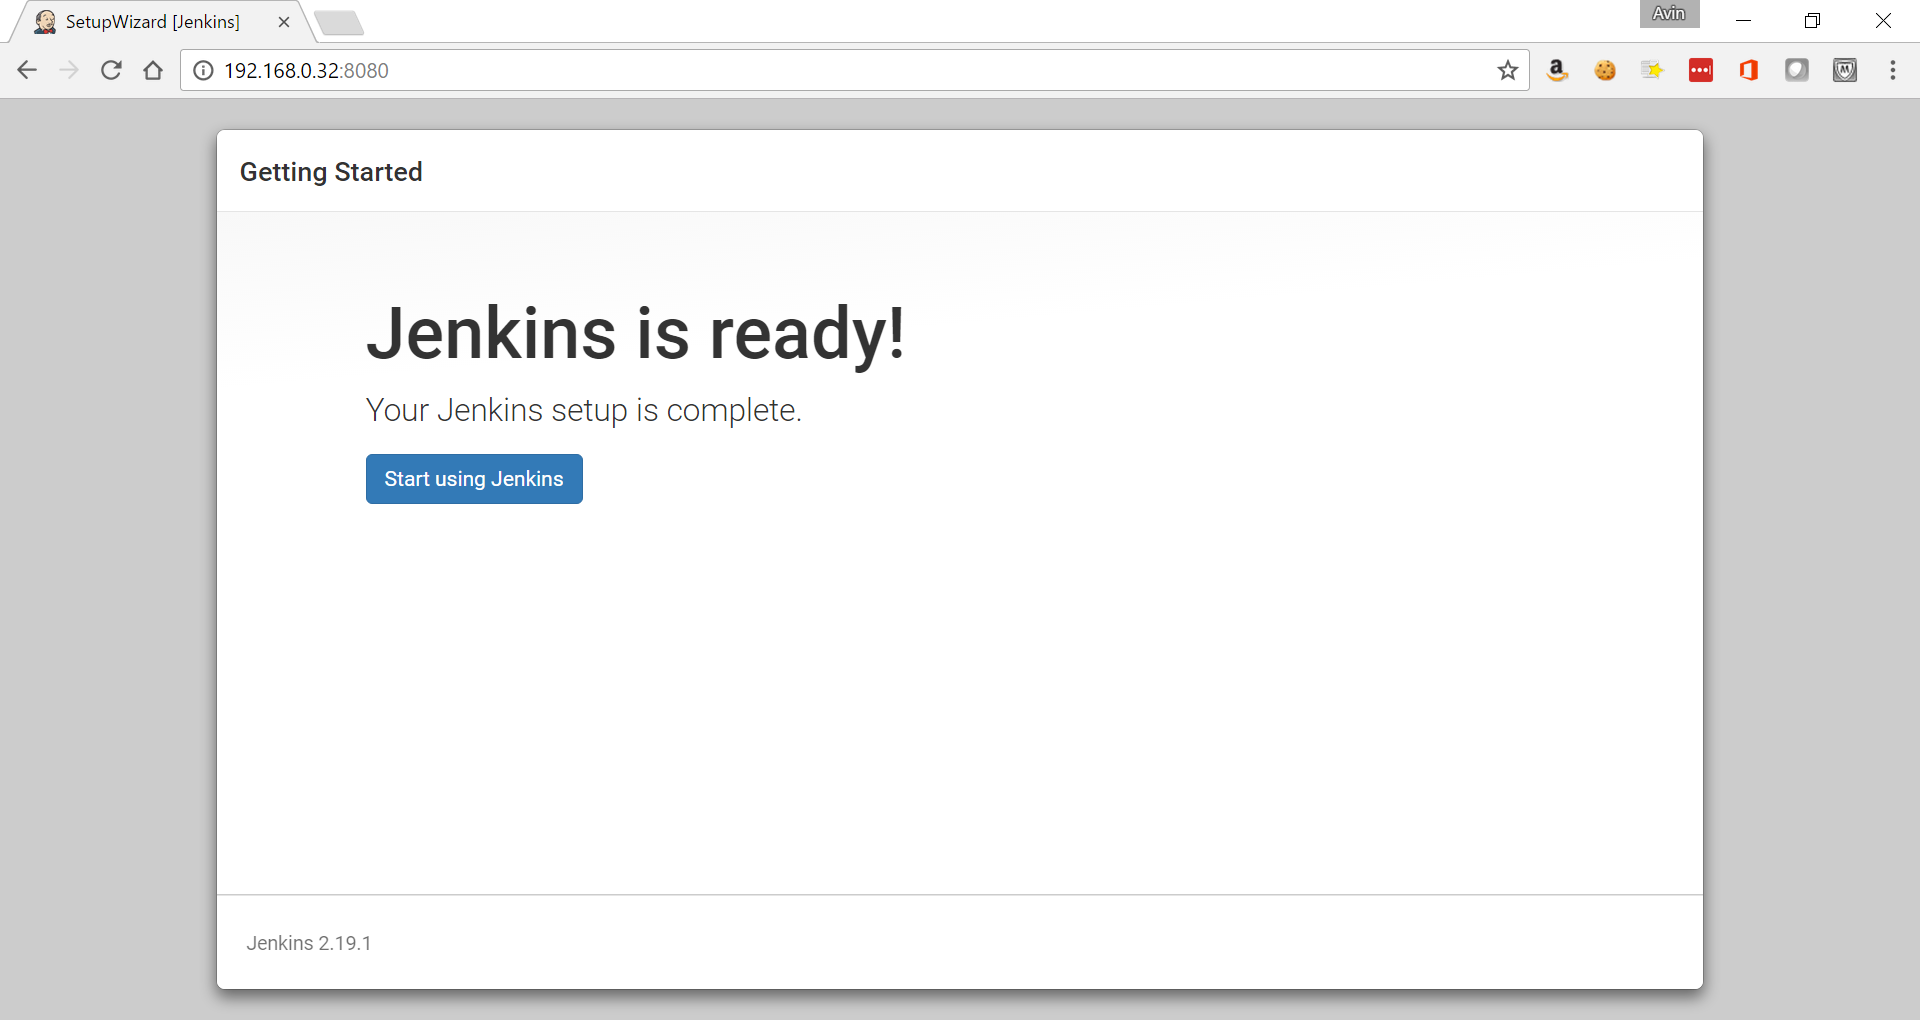
Enter the details and it should accept and show that Setup is complete like below

Thanks for reading. feel free to post comments or feedback
References -